"Build a weather station: ESP32, a display board and a BME280"
Build a weather station: ESP32, a display board and a BME280
A weather station is one of the most satisfying ESP32 builds going — it produces data you actually look at every day, it's almost entirely receive-side hardware, and it scales from a single indoor sensor to a full outdoor unit with wind and rain inputs. This is a build guide for Australian readers, with parts you can source from our ESP32 range and real community projects to copy. Nothing here transmits on anything but Wi-Fi, so there's no licensing question at all: it's the most lawfully boring project we've covered.
The sensing core: BME280
The sensor almost every serious DIY station builds around is the Bosch BME280 — temperature, humidity and barometric pressure over I2C, accurate enough for real forecasting decisions. Barometric trend is the underrated part: a steady 3 hPa fall over a few hours tells you a front is arriving before the radar does. The Tsjakka/WeatherStation project on GitHub is a good example of how far you can push this — the builder replaced the dead outdoor unit of a commercial Fine Offset station with an ESP32, a BME280, and a re-used professional anemometer, logging everything locally (Tsjakka/WeatherStation). It's a useful read even if you never touch wind measurement, because it documents the realities of outdoor weather-sensor longevity: ultrasonic wind sensors last, moving parts don't.
The pragmatic first version is indoor-only: an ESP32-S3 DevKitC starter kit (A$45.45) plus any BME280 breakout from your parts drawer or an AU sensor supplier. That gets you temperature, humidity and pressure on day one for under A$60 total.
The display: put the weather on your wall
This is where the ESP32 display ecosystem pays off. Two community projects show the pattern:
- The ESP32 CYD Weather Station with Forecast project runs an internet-based station with a three-day forecast on the ESP32-2432S028 Cheap Yellow Display, pulling data from OpenWeatherMap for your location — a clean, well-documented starting point.
- The cyd-weather-clock project goes further, building a weather-plus-clock system on a CYD using ESP-IDF and LVGL for a genuinely polished interface.
Our StealthDeck Lite (A$104.88) is exactly that class of hardware — the ESP32-2432S028 CYD with radios and NFC added — so it runs the same class of display firmware while keeping its other capabilities. If you want more screen, the ESP32-S3 4.3" capacitive touch display board (A$59.01) is the step up the spectrum-analyser build also uses; same family, double the diagonal.
Two data paths are worth knowing: screen-scraping OpenWeatherMap (simple, needs an API key and internet) or feeding it from your own sensors via ESPHome or MQTT into Home Assistant and having the display show the locally measured numbers. The second path is the one that keeps working when the internet doesn't, and it's the one we'd build.
Going outdoor: wind and rain
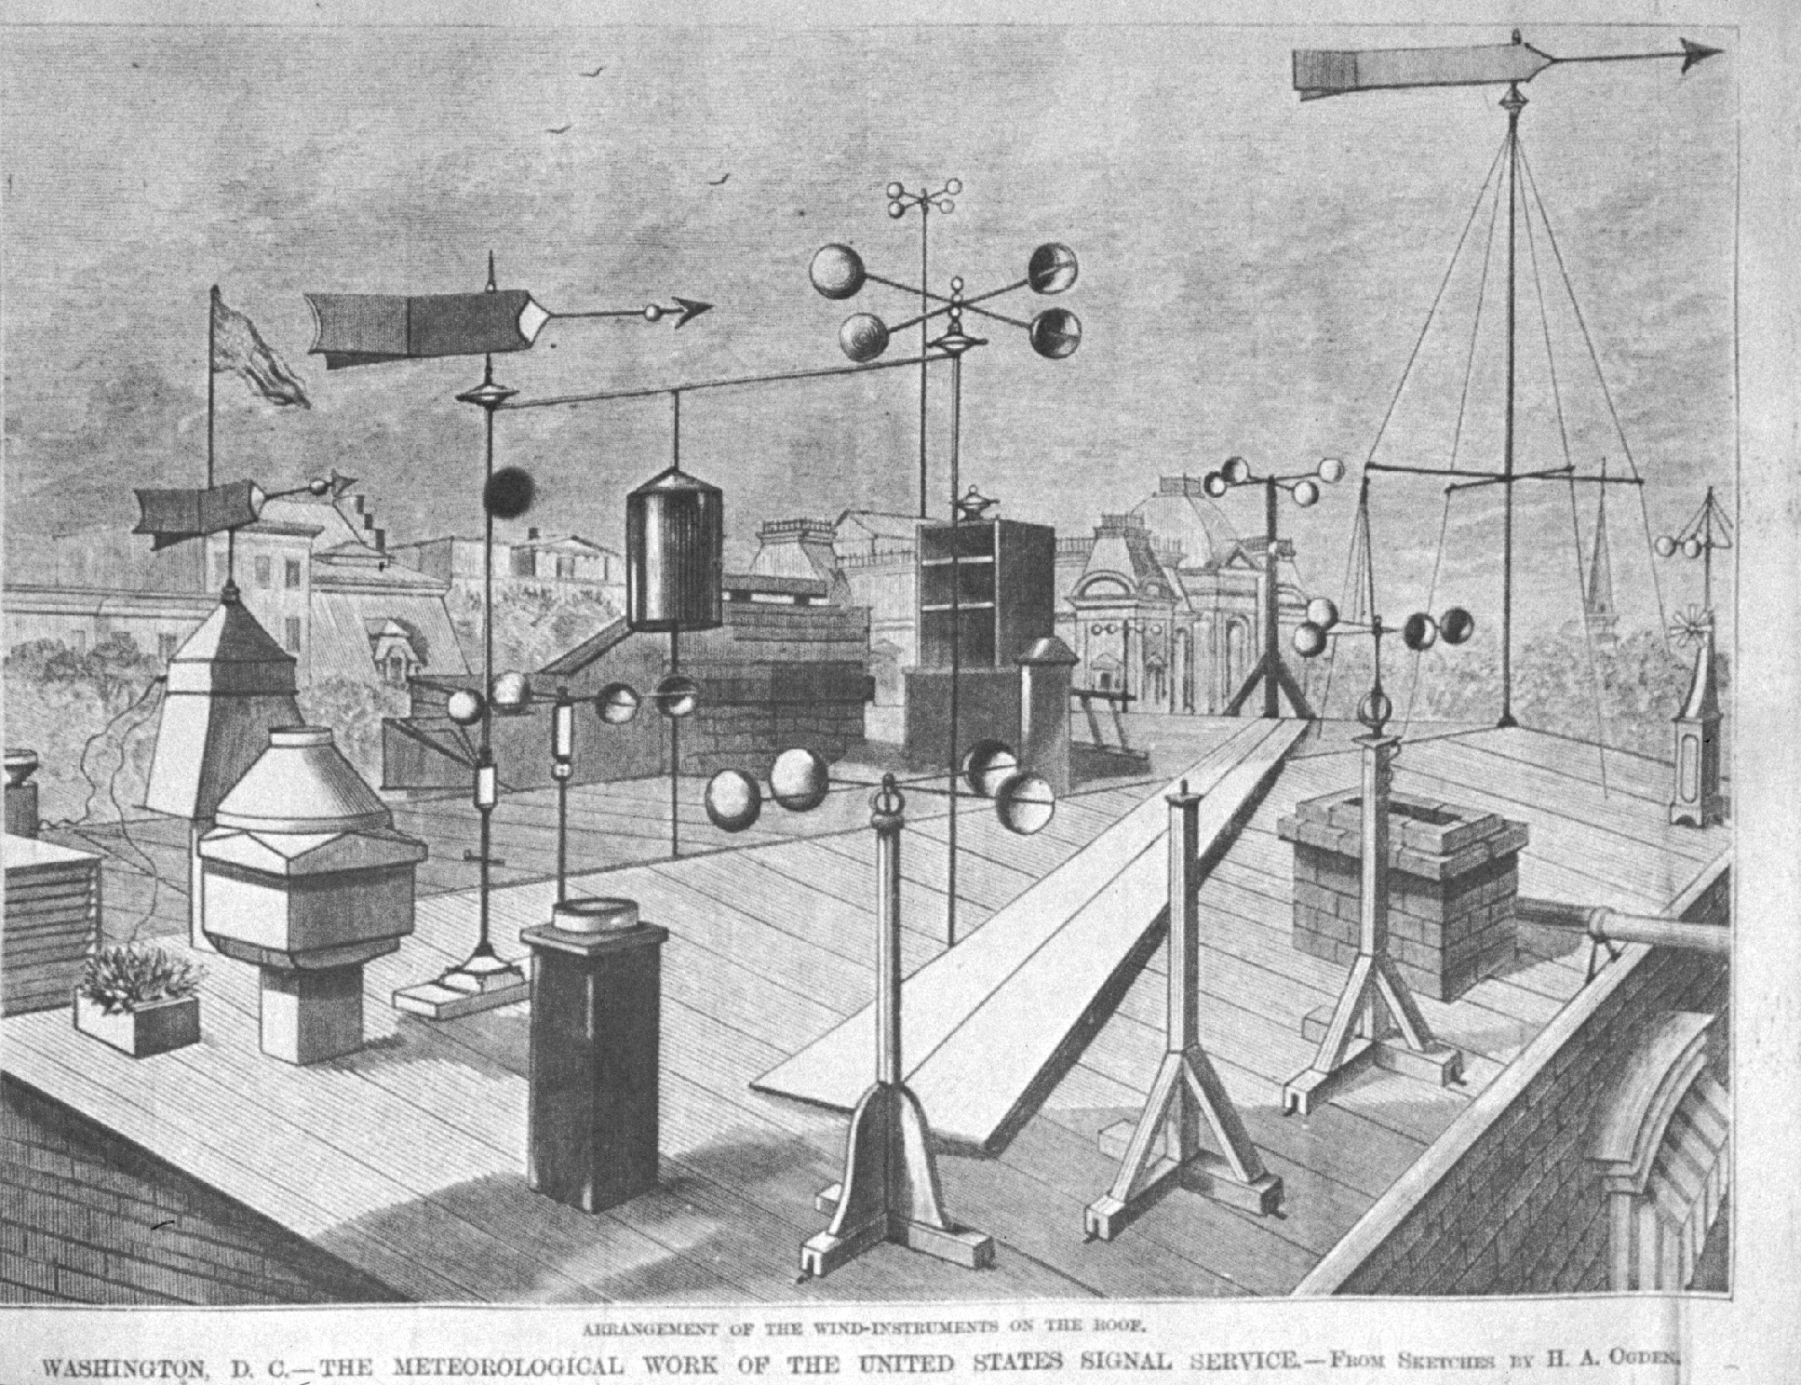
Adding wind measurement is where stations stop being toys. A standalone anemometer with a pulse output pairs with any ESP32's interrupt pins — count pulses, convert to km/h, timestamp it. The Tsjakka project above shows the conversion math and the mounting realities (pole height, proximity to the house, and the fact that cheap moving-part anemometers die around the three-year mark). For a first outdoor unit, keep it simple: BME280 in a radiation-shielded enclosure, the anemometer above it, cable run to the ESP32 inside.
Power is the usual constraint. An ESP32 with Wi-Fi polled every 60 seconds runs comfortably off a 5 V supply; for a genuinely remote station, deep-sleep cycles and a small solar panel stretch it indefinitely. Budget the enclosure properly — a IP65 box with cable glands costs less than the sensor you're protecting.
Parts list, AU-priced
- ESP32-S3 DevKitC starter kit — A$45.45 — controller plus BME280-class sensor pack
- ESP32-S3 4.3" touch display — A$59.01 — the wall display
- Orange Pi Zero 3 — A$59 — optional Home Assistant / MQTT host, in a case kit (A$29.90) with an AU-plug PSU (A$24.90)
- Anemometer with pulse output — from AU electronics suppliers — optional wind readings
Affiliate disclosure: products linked are our own store.
Build order: sensor + serial first, display second, Home Assistant third, outdoor unit last. By the time the wind sensor goes up, you'll have a station that's more useful than most commercial ones — and entirely yours.